 how-to
How to Troubleshoot Hydraulic System Leaks
Table of Contents
- Safety First: Preparing to Inspect Your Hydraulic System
- Step 1: Shut Down and Lock Out the Equipment
- Step 2: Release System Pressure Safely
- Step 3: Prepare the Work Area and Contain Spills
- Step 4: Assemble Your Personal Protective Equipment (PPE)
- Step 5: Allow the System to Cool
- Step 6: Verify Depressurization Before Work
- Step 7: Know When to Stop and Call a Professional
- How to Troubleshoot Hydraulic System Leaks: Visual Inspection
- Hydraulic Leak Detection: External vs. Internal Leaks
- Common Causes of Hydraulic Leaks
- Hydraulic Hose Leak Troubleshooting
- Hydraulic Equipment Preventive Maintenance to Stop Recurring Leaks
- When to Repair, Replace, or Call a Technician
- Frequently Asked Questions
Last Updated: October 11, 2026
Safety First: Preparing to Inspect Your Hydraulic System
Before troubleshooting hydraulic system leaks, prioritize safety. Hydraulic systems operate under thousands of pounds per square inch, pressurized leaks can spray fluid at dangerous speeds and cause serious injury.
Step 1: Shut Down and Lock Out the Equipment
Stop all equipment operation immediately. Turn off the engine or motor. Do not rely on the "off" position alone, residual pressure remains in the lines and hoses even after shutdown.
If your equipment has a lockout/tagout (LOTO) system, engage it now by attaching a lock to the ignition switch or fuel shutoff valve and tagging it with your name and date.
Step 2: Release System Pressure Safely
Consult your equipment manual for the correct depressurization procedure and locate the pressure relief valve or manual bleed valve. With the engine off and system locked out, slowly open the valve and listen for pressure release. Leave it open for at least 30 seconds to ensure all pressure drains.
If your equipment has an accumulator, depressurize it separately, accumulators can hold pressure for hours or days after shutdown.
Step 3: Prepare the Work Area and Contain Spills
Place absorbent material under the work area before you begin. Position it to catch drips or sprays outdoors, or block floor drains and have a collection pan ready in a shop.
Step 4: Assemble Your Personal Protective Equipment (PPE)
Wear the following before touching any hydraulic component: safety glasses or face shield, nitrile or leather gloves, long sleeves and pants, steel-toed boots, and a NIOSH-approved respirator if the system is hot or fumes are present.
Step 5: Allow the System to Cool
Allow at least 15-30 minutes for the system to cool before touching hoses, fittings, or fluid. Test temperature by holding your hand near a hose; if you cannot hold it there for 5 seconds comfortably, the system is still too hot.
Step 6: Verify Depressurization Before Work
Before inspection, confirm pressure has been fully released by verifying zero on a pressure gauge or gently pressing a gloved finger against a hose to feel for residual pressure.
Step 7: Know When to Stop and Call a Professional
If at any point you feel uncertain about the depressurization procedure, the location of pressure relief valves, or the safe handling of the equipment, stop work and contact a qualified hydraulic technician.
How to Troubleshoot Hydraulic System Leaks: Visual Inspection
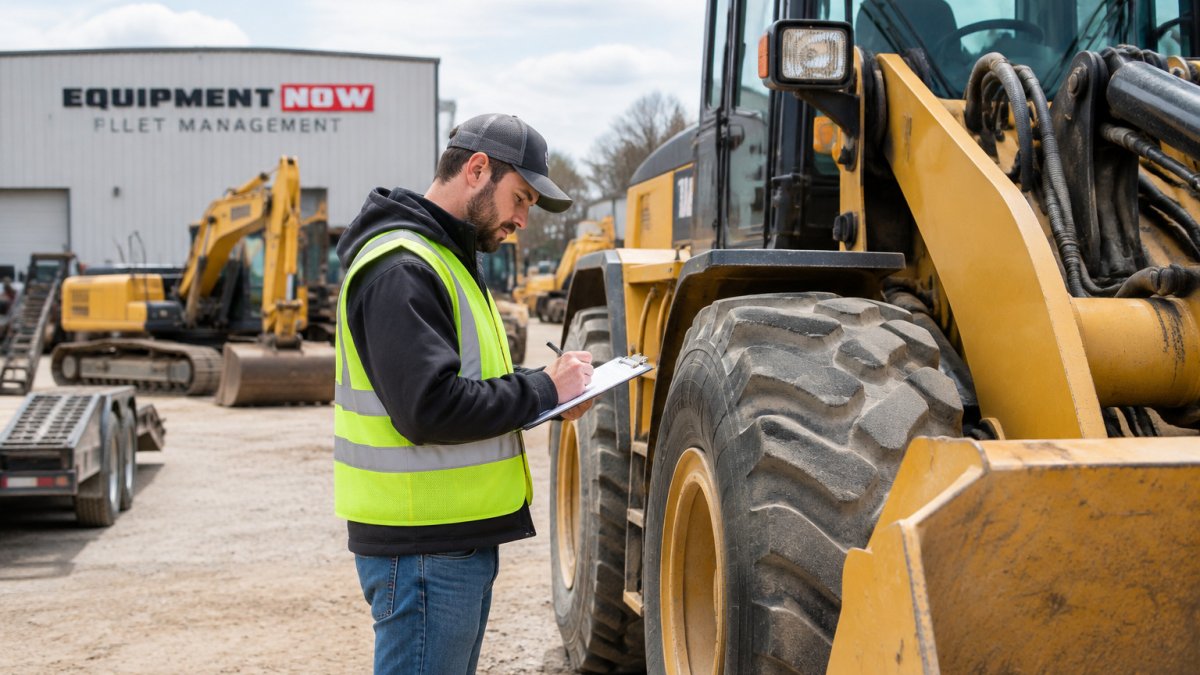
Begin troubleshooting hydraulic system leaks with careful visual inspection. Look for fresh hydraulic fluid on the ground or equipment surfaces. Check the hydraulic pump, relief valve, and pump outlet, high-pressure zones often leak first. Inspect every visible fitting and joint.
Checking Fluid Level and Condition
A dropping fluid level is often your first warning sign of a leak. Check the reservoir weekly during active use. Healthy fluid appears clear or slightly amber; cloudy, milky, or dark fluid suggests contamination or overheating. If fluid level drops quickly, mark the level and monitor daily to estimate severity.
Inspecting Hoses, Fittings, and Connections
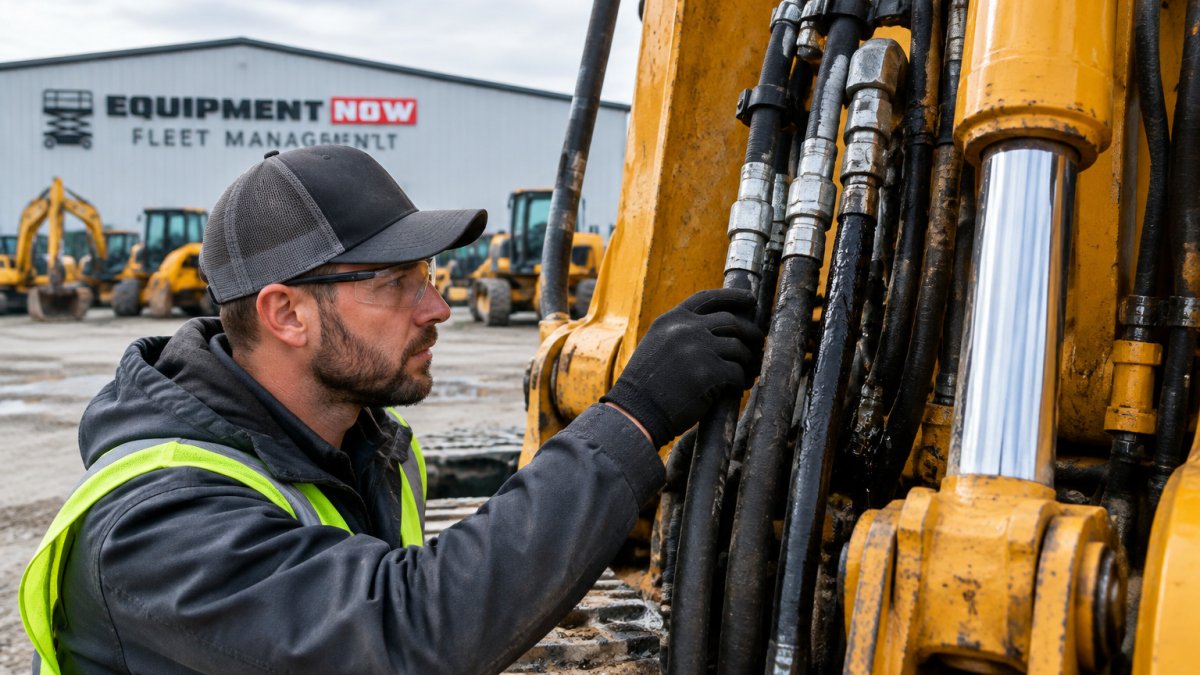
Hydraulic hoses and fittings are common leak sources. Visually examine every hose for cracks, splits, bulges, abrasion marks, and heat discoloration. Check all fittings and connectors for weeping fluid and tighten by hand first. If fluid continues to weep after tightening, the seal needs replacement.
Hydraulic Leak Detection: External vs. Internal Leaks
Not all hydraulic system leaks are visible. Understanding external versus internal leakage helps diagnose problems faster.
Identifying External Leaks
External leaks are easiest to spot, fluid escapes to the outside environment, leaving wet spots on the ground, equipment frame, or nearby surfaces. Trace wet spots by following the fluid trail upward to mark the leak source. Use cardboard or white paper to catch drips and confirm location.
Recognizing Internal Leakage
Internal leaks occur when pressurized fluid escapes from one system part to another without leaving the equipment. Signs include pressure loss without visible external leaks, slower actuator movement, unusual pump or motor noise, and heat buildup. Internal leaks often occur at valve seals, pump inlet connections, or worn cylinder seals.
Diagnostic Decision Tree: Is It External or Internal?
Use this step-by-step method to distinguish between external and internal leakage in the field:
Step 1: Perform a Visual Inspection
Look for wet spots, drips, or fluid accumulation around the equipment frame, under hoses, and around fittings.
Step 2: Check Fluid Level and Monitor Consumption
Record the reservoir level and time. Run the equipment for 30 minutes to 1 hour, then check again. A noticeable drop indicates a leak. If stable, proceed to Step 3.
Step 3: Test System Pressure
Connect a pressure gauge to a test port and record pressure at idle and under load. Compare to manufacturer specifications. Normal or high pressure with no external fluid suggests internal leakage.
Step 4: Correlate Pressure Loss with Fluid Level
Run the equipment under load for 15 minutes while monitoring pressure and fluid level. Pressure drop with constant fluid level indicates internal leakage. Pressure drop with fluid level drop suggests both internal and external leakage.
Locating External Leaks with Precision
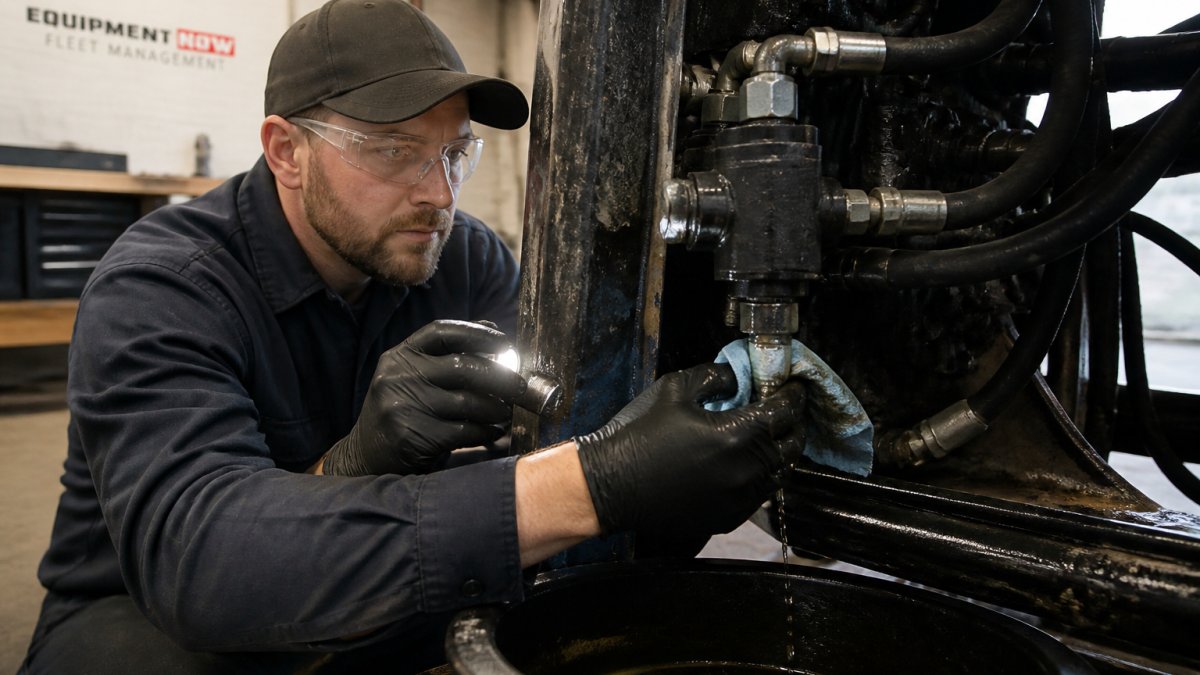
Once you've confirmed an external leak, pinpoint its location: dry the area with a clean cloth, run the system at low pressure and watch for fresh fluid, use white paper or cardboard to mark wet spots, and measure the distance from the nearest fitting to aid repair.
Confirming Internal Leakage
If your diagnostic tree points to internal leakage, take these additional steps:
- Listen for pump noise: Internal leakage often causes the pump to cavitate (draw air) or produce a high-pitched whining sound. This noise is a reliable indicator of internal leakage.
- Feel for heat: Place your hand (wearing a glove) near the reservoir or return line. Internal leakage generates heat as fluid bypasses the working circuit. Abnormal warmth confirms internal leakage.
- Check valve seals: If the leak is at a directional control valve or relief valve, you may see a small amount of fluid weeping from the valve body or the return line connection. This is internal leakage at the valve seal.
- Inspect cylinder seals: If an actuator (cylinder or motor) is moving slowly or with reduced force, the seal inside the actuator may be leaking internally. The fluid is escaping from the pressure side to the return side inside the actuator, reducing force.
Common Causes of Hydraulic Leaks
Most leaks stem from worn seals, which degrade from pressure cycling, temperature extremes, and contamination.
Loose fittings develop leaks through vibration and thermal cycling. Regular tightening prevents many leaks.
Damaged hoses fail from abrasion, impact, or age. Hoses degrade from UV exposure and ozone in outdoor environments.
High operating temperatures accelerate seal and hose failure. Contaminated hydraulic fluid damages seals and increases wear.
Hydraulic Hose Leak Troubleshooting
Once you've identified a hydraulic hose as the leak source, pinpoint the exact location and determine whether repair or replacement is needed.
Locating the Leak Source
For long hose runs, pinpointing the leak location saves time and money. A leak near the fitting may allow hose reuse; a leak in the middle usually requires full replacement.
Dry the hose thoroughly with a clean cloth. Run the system at low pressure and watch for fresh fluid appearing as a jet or mist. Mark the location clearly.
For hoses you cannot see directly, hold white paper or cardboard near suspected areas and move it slowly along the hose length to narrow down the leak location.
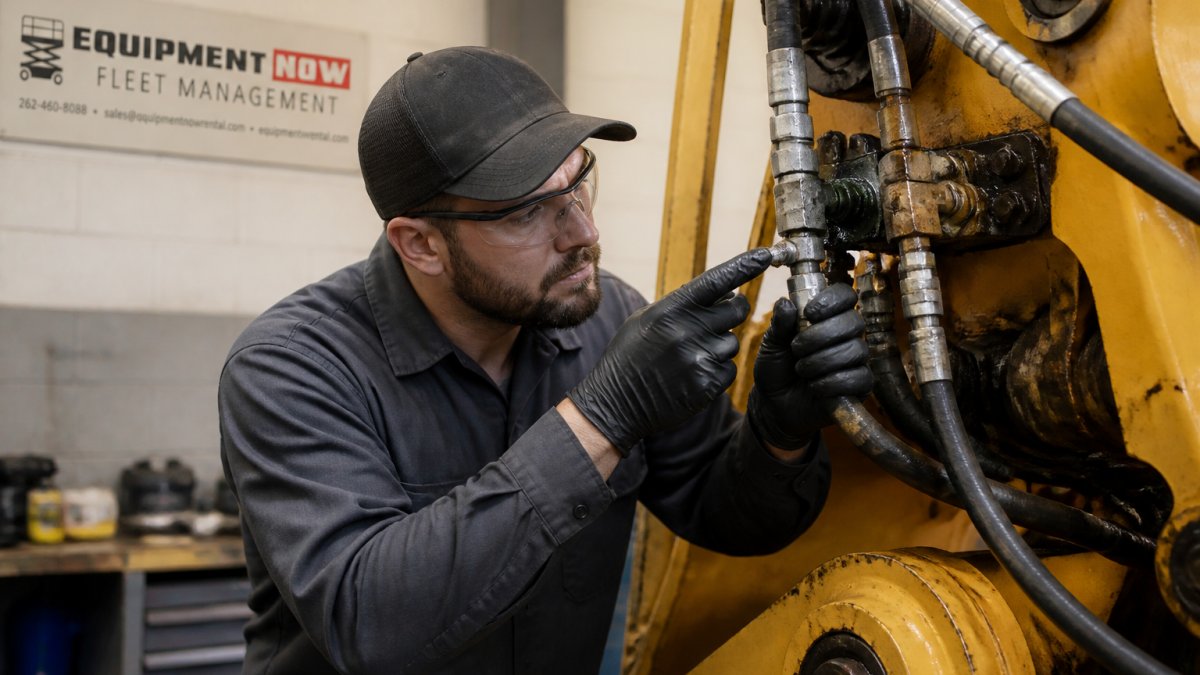
Testing Pressure and System Response
After locating the leak, test system pressure to understand severity. Connect a pressure gauge to a test port near the affected hose and record readings at idle and under load.
Compare your reading to manufacturer specifications. Pressure that drops significantly under load suggests internal leakage or pump failure. Steady pressure with visible external leak confirms a hose or fitting problem.
Monitor pressure while observing the leak. Continuous spraying requires immediate attention; slow weeps should be repaired soon.
Hydraulic Equipment Preventive Maintenance to Stop Recurring Leaks
The best way to avoid repeated troubleshooting is preventive maintenance. Regular inspections catch problems before they become failures.
Schedule fluid level checks weekly during active use and track consumption over time. A sudden increase signals developing leaks before they become severe.
Inspect all hoses, fittings, and seals monthly for wet spots, discoloration, cracks, and loose connections. Tighten fittings that show movement.
Change hydraulic fluid at manufacturer-recommended intervals. Fresh fluid removes contaminants and maintains seal condition; dirty fluid accelerates wear.
Monitor system temperature and pressure regularly. Abnormal readings often precede visible leaks and can prevent failures when caught early.
For fleet management operations, preventive maintenance is critical. Tracking maintenance schedules across multiple job sites prevents unexpected failures that disrupt projects. Equipment Now Rental and Sales offers fleet management services including preventive maintenance scheduling and monitoring.
When to Repair, Replace, or Call a Technician
Not every hydraulic leak requires a technician. Small weeps at fittings often respond to tightening. Hose leaks near fittings may be repairable. But some leaks demand professional attention.
Repair a fitting leak yourself if tightening stops the weep.
Replace a hose if the leak is in the hose body itself, not at a fitting. A new hose is more reliable and often cost-effective compared to repeated repairs.
For businesses managing equipment fleets, Equipment Now Rental and Sales provides fleet management support including maintenance coordination.
Troubleshooting hydraulic system leaks starts with safety and visual inspection, then progresses to pressure testing and component evaluation. Most leaks can be prevented through regular maintenance and timely repairs.
Frequently Asked Questions
What is the correct way to check for hydraulic leaks?
Start by depressurizing the hydraulic system completely and allowing it to cool. Visually inspect the fluid reservoir level, then examine all hoses, fittings, and connections for wet spots, discoloration, or pooled fluid. Use a clean cloth to wipe suspected areas and monitor for fresh fluid seepage. Check the pump inlet, pump outlet, relief valve, and all joints carefully. If you find fluid loss but no external source, suspect internal leakage in seals or the pump itself.
What are the most common causes of hydraulic leaks?
Damaged seals, cracked hoses, loose connections, and corroded fittings are the leading causes. High system pressure, temperature fluctuations, and contaminated hydraulic fluid accelerate wear on seals. Vibration and impact can crack hoses or loosen joints over time. Poor maintenance and infrequent fluid condition checks allow small problems to become major leaks. Fleet management programs with preventive maintenance schedules can help address these issues.
How can you tell whether a hydraulic hose or fitting is leaking?
External leaks show as wet, oily residue on the hose surface, drips onto the ground below, or a visible spray during system operation. Inspect fittings and connectors for fluid weeping at the joint. A cracked hose may show a small pinhole leak or a visible split. Internal leaks in hoses are harder to detect but may produce unusual noise, knocking sounds, or reduced system pressure. If fluid level drops without visible external leakage, suspect an internal leak in a seal or the pump.
When should a hydraulic leak be repaired by a qualified technician?
Contact a technician immediately if you observe significant fluid loss, system pressure drops below normal range, or you detect internal leakage. Any leak at the pump inlet, relief valve, or seals requires professional repair. If you cannot locate the leak source after visual inspection, or if a leak persists after a temporary fix, professional diagnosis is necessary. Large equipment failures should never be attempted as DIY repairs; technicians have the tools and expertise to test, repair, and verify the system safely.