 how-to
Pre-Shift Safety Inspection: How to Do It Right
Table of Contents
- Why a Pre-Shift Safety Inspection Matters Before You Turn the Key
- What You'll Need Before the Pre-Operational Inspection Begins
- Step 1: The Key-Off Walkaround Visual Check
- Step 2: Operational Checks With the Engine Running
- Your Construction Equipment Inspection Checklist
- What to Do When You Find a Defect
- Using an Equipment Inspection Report Template to Record Findings
- Fleet Management Inspection Tracking and Accountability
- Frequently Asked Questions
Last Updated: October 20, 2026
Why a Pre-Shift Safety Inspection Matters Before You Turn the Key
A pre-shift safety inspection is a documented check of a machine's condition, performed by the operator before the equipment goes to work. It catches problems while the machine is parked, not while it's lifting a load over someone's head.
Below, we'll walk through the full routine, step by step, so you can run it in ten minutes and trust the result.
The logic is simple. A fault found at 6:55 a.m. costs you a phone call. The same fault found at 2 p.m., mid-lift, costs you a load, a schedule, and possibly an injury claim. That gap is the whole argument for doing this properly.
What You'll Need Before the Pre-Operational Inspection Begins
Gather your tools before you walk the machine. A pre-operational inspection runs faster when everything is in hand.
- The operator's manual for that specific machine
- A printed or mobile inspection checklist
- A flashlight for dark compartments
- A rag for checking fluid levels
- A pen or a phone for photos of defects
- Your PPE: hard hat, vest, safety glasses, boots
Only a trained, authorized operator should run the check. If you haven't been trained on the machine, hand the keys to someone who has. Read the operator's manual before your first inspection of any unfamiliar model. Controls and fluid locations vary between machines.
Step 1: The Key-Off Walkaround Visual Check
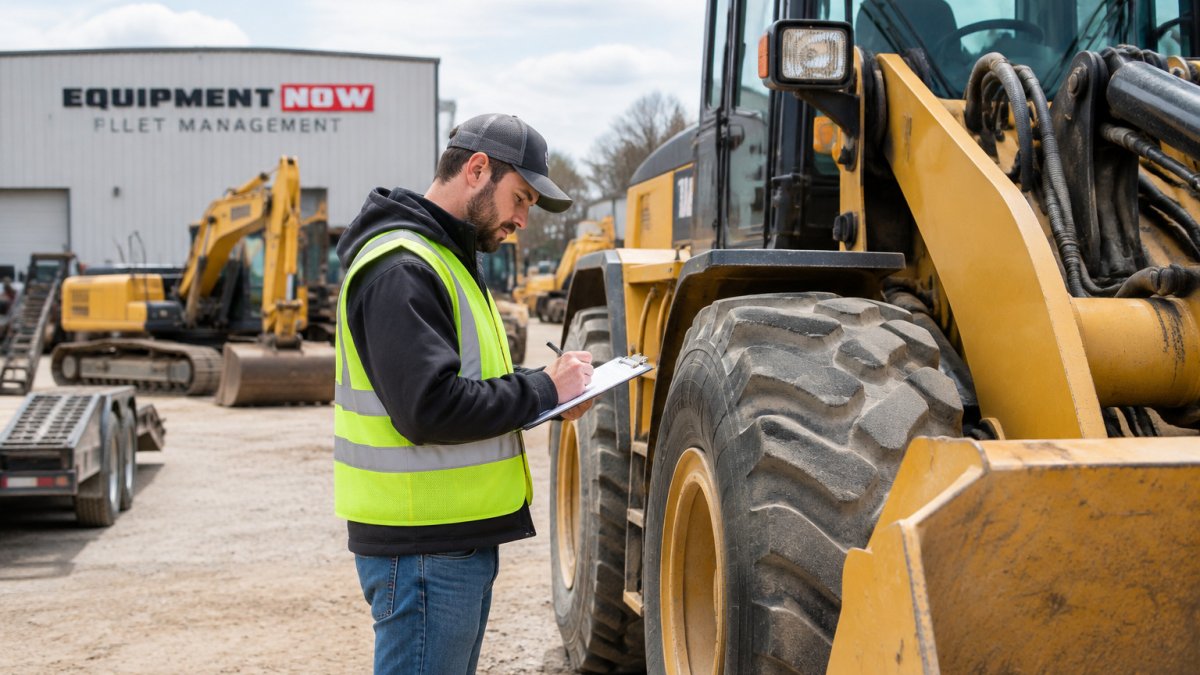
Start with the key off and the machine parked on level ground. This visual check is your first line of defense. Walk the same route every time, starting at a designated point, so nothing gets skipped.
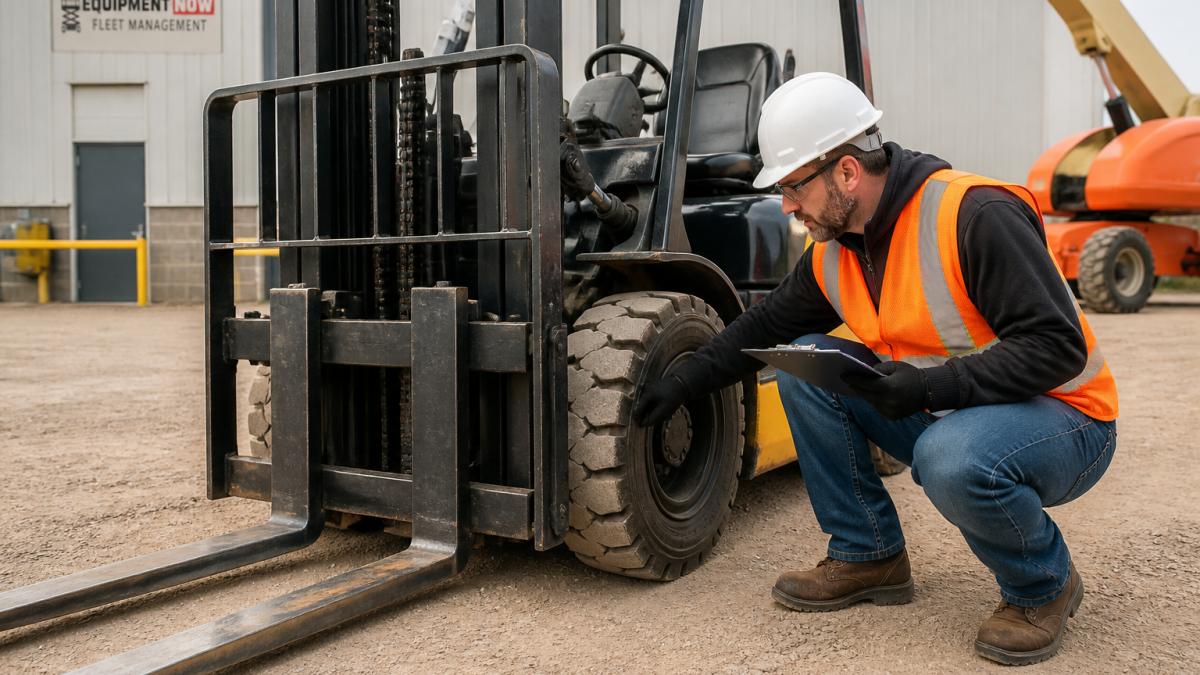
Tires, Wheels, and Undercarriage
Look for cuts, gouges, flat spots, and embedded debris. Check lug nuts and wheel condition. On pneumatic tires, check pressure with a gauge. Look under the machine for leaks and pooled fluid. A wet spot under a lift truck is a mechanical defect, not a nuisance.
Forks, Mast, and Load-Handling Components
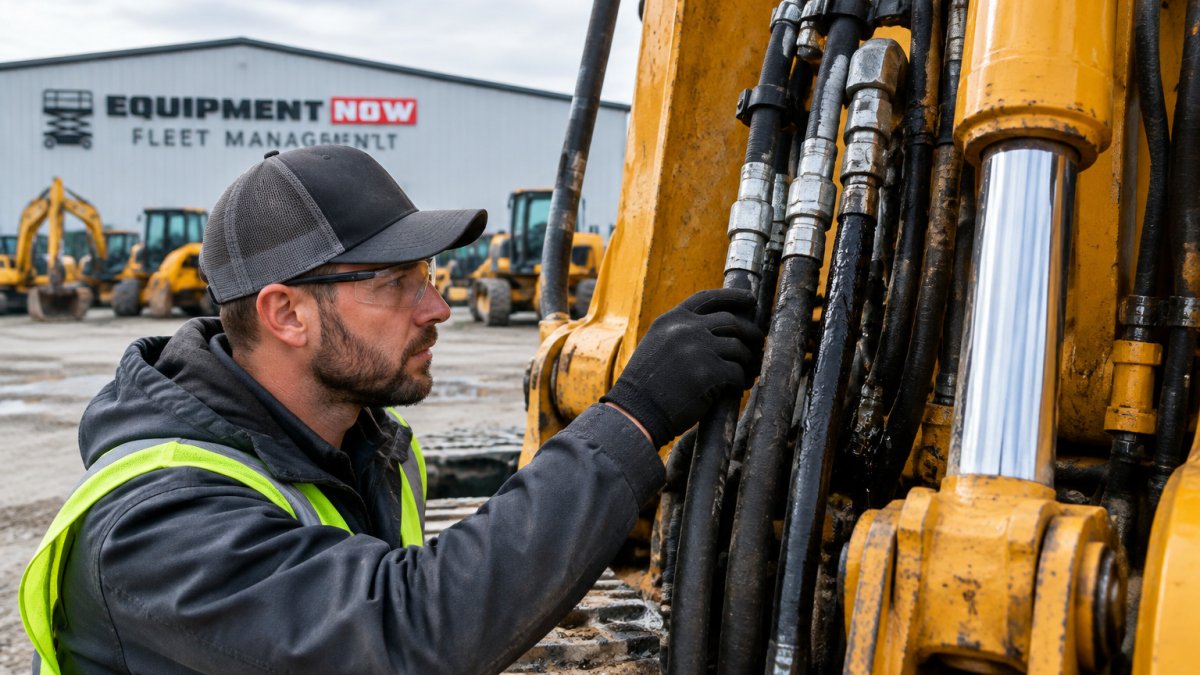
Inspect forks for cracks, bends, and wear at the heel. Check the mast and chains for damage and lubrication. Look at hoses and hydraulics for leaks, chafing, and loose fittings. Check the overhead guard and backrest for damage.
Step 2: Operational Checks With the Engine Running
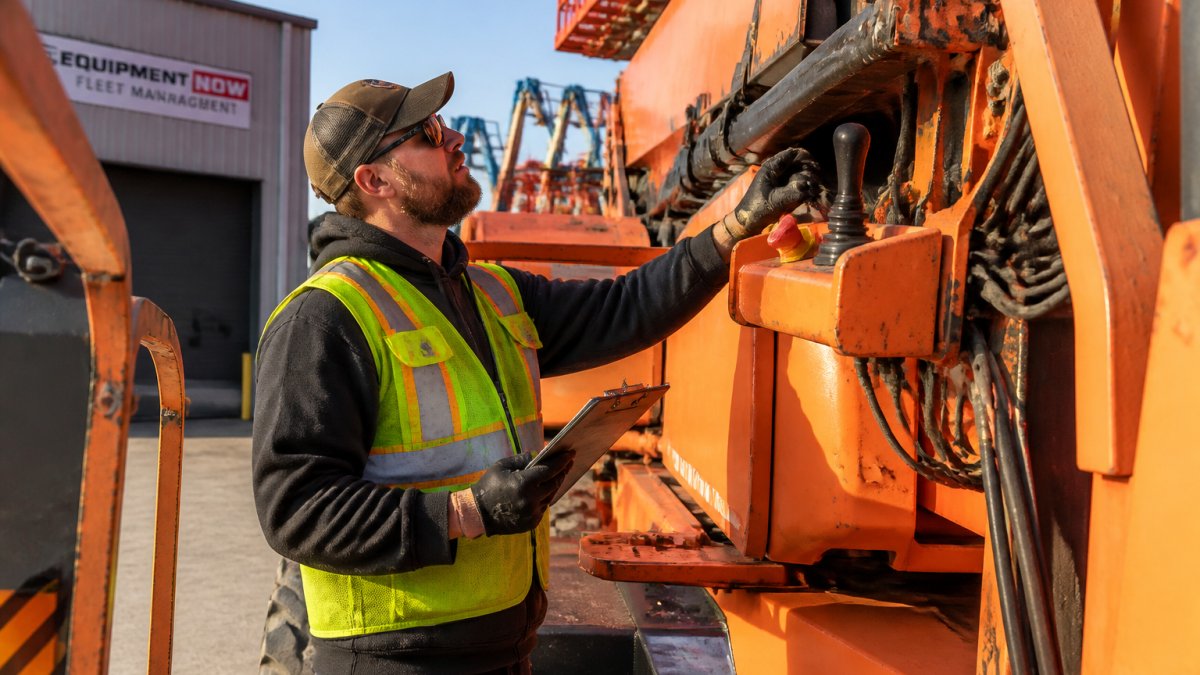
Now start the engine and test how the machine actually behaves. A visual check can't tell you whether the brakes grab or the steering responds.
- Start the engine and listen for unusual noise
- Test the horn, lights, and alarms
- Check the brakes and parking brake
- Turn the steering wheel through its full range
- Raise and lower the forks; check for smooth operation
- Test all controls for responsive operation
- Watch for fluid leaks while the machine runs
Any unusual noise, sluggish control, or soft brake pedal is a defect. Shut the machine down and report it.
Your Construction Equipment Inspection Checklist
A construction equipment inspection checklist is the difference between a routine and a habit. Use the same list every shift, and record findings as you go. The table below is a pass/fail version you can print, laminate, or keep on a phone, the format matters less than the consistency.
| Item | Key Off (Visual) | Engine Running (Operational) | Pass / Fail | Notes |
|---|---|---|---|---|
| Tires and wheels | Cuts, gouges, flat spots, lug nuts, pressure | Listen for unusual noise | ||
| Forks and heel | Cracks, bends, wear at heel | Raise and lower smoothly | ||
| Mast and chains | Damage, lubrication, tension | Check for binding | ||
| Hydraulics and hoses | Leaks, chafing, loose fittings | Watch under load | ||
| Fluids | Engine oil, hydraulic, coolant, fuel | Check for leaks | ||
| Brakes | Visual | Service brake and parking brake | ||
| Steering | Visual | Full range of motion | ||
| Horn, lights, alarms | Visual | Test each one | ||
| Overhead guard and backrest | Damage | , | ||
| Seat belt and operator restraints | Condition | Latch test |
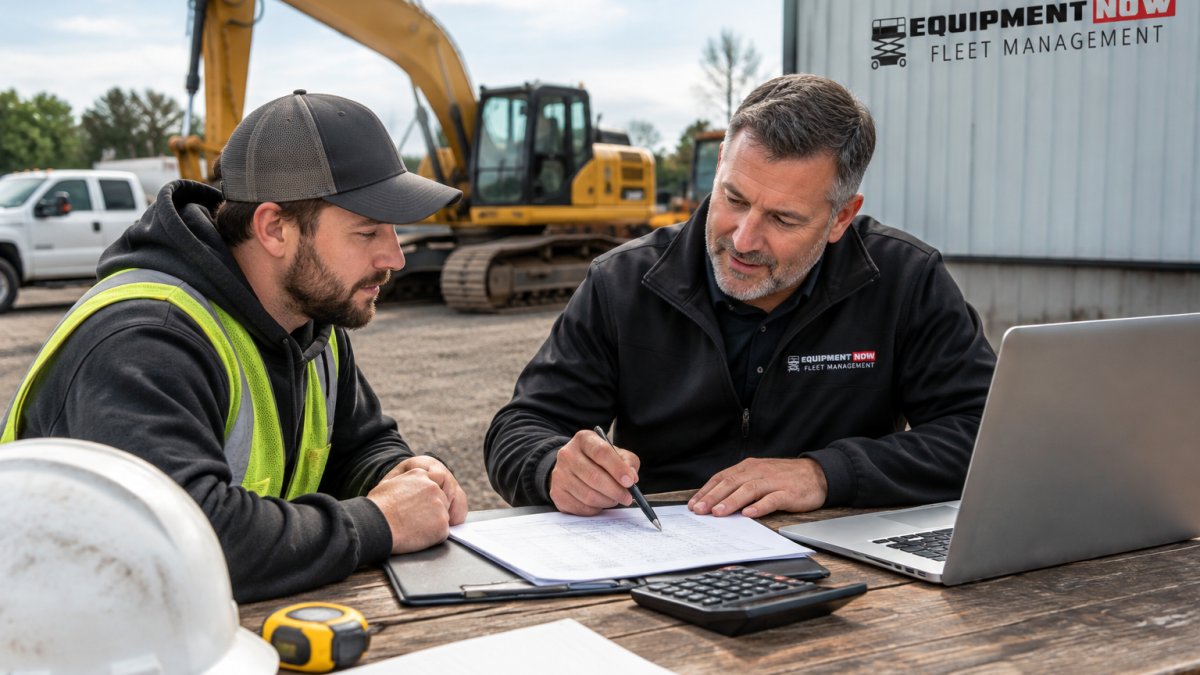
Documentation and accountability. A checklist only works if the results are recorded. Capture the date, machine number, hour meter reading, operator name, each item checked, any defects with photos, and a signature. Most practitioners find that a supervisor should review the report each shift, and that records should be retained for the period your insurer or legal counsel recommends. Recurring defects on the same unit should trigger a maintenance review rather than another round of the same repair.
Equipment-specific variations. The list above fits a counterbalanced forklift, but the details change with the truck. Electric lift trucks add battery checks, electrolyte level, connector condition, and charging area ventilation. Propane trucks add tank mounting and hose inspection. Diesel units add fuel system and exhaust checks. Always defer to the operator's manual for the specific model; controls and fluid locations vary between machines.
This is where fleet management inspection tracking earns its keep. When every checklist is logged against a machine in a fleet management system, patterns surface: the same unit with repeat defects, the same operator skipping steps, the same component failing. That history is exactly what an auction discards. Consignment through a fleet management partner keeps the machine in a tracked, maintained pool with its inspection records attached, so it holds its value and the buyer knows what they're getting. For a fleet manager, that difference is the whole game.
What to Do When You Find a Defect
A defect stops the process. Do not "work around" a safety defect, and do not put a machine back in service because the job is urgent. The difference between a minor issue and a serious incident is usually whether someone followed a fixed defect-response sequence.
- Stop operating the machine. Park it on level ground, lower the forks or attachment, set the parking brake, and shut it down.
- Tag it out. Attach a "Do Not Operate" tag at the controls and, where your site uses lockout/tagout, apply your personal lock. Under OSHA's lockout/tagout standard (29 CFR 1910.147), servicing or maintenance that could release hazardous energy requires isolation and tagging, a defective lift truck falls squarely into that category.
- Record the defect. Write it on your inspection report, note the machine hour meter reading, and photograph the defect. A timestamped photo is the fastest way to settle a damage dispute at return.
- Notify your supervisor, or, on a rental, the rental provider, the same shift. Do not wait for the next shift change.
- Hold the machine out of service until a qualified technician repairs it and a supervisor signs a return-to-service entry on the report.
A faulty machine that stays in service is a liability with a schedule. Tagging it out protects the next operator, and the written record protects you.
This is where fleet management changes the economics. When a defect is logged against a machine in a fleet management system, the repair is scheduled, the part is ordered, and the return-to-service sign-off is attached to the same record. The machine does not quietly re-enter the rotation with an open defect. That closed-loop tracking is one reason consignment through a fleet management partner beats auction: an auction sells a machine as-is with no service history and no accountability for what happens next, while a consigned machine stays in a tracked, maintained pool with its inspection and repair records attached.
Using an Equipment Inspection Report Template to Record Findings
An equipment inspection report template turns a walkaround into a record. It should capture the date, the machine, the operator, each item checked, and any defects with photos and a signature.
Keep reports for every shift and every machine. A written record proves the check happened, tracks repeat problems, and supports warranty or damage conversations.
Fleet Management Inspection Tracking and Accountability
Fleet management inspection tracking is how a single checklist becomes a system. When every inspection is logged against a machine, patterns show up: the same unit with repeat defects, the same operator skipping steps, the same component failing.
This is where consignment beats auction for owners moving equipment. An auction sells a machine as-is, with no service history and no accountability for what happens next. Consignment through a fleet management partner keeps the machine in a tracked, maintained pool, with inspection records attached, so it holds its value and the buyer knows what they're getting. For a fleet manager, that difference is the whole game.
Equipment Now Rental and Sales builds inspection tracking into our fleet management service, alongside preventive maintenance, GPS tracking, and compliance support. If you'd rather rent than own, our online booking shows real-time availability, so the machine you reserve is the machine you get.
Frequently Asked Questions
What should operators check during a pre-shift equipment inspection?
Operators should check tires and wheels for damage, inspect forks and the mast for cracks or wear, look for fluid leaks under the machine, and confirm the horn, lights, and alarms work. With the engine running, test brakes, steering, and controls for smooth operation. Any defect found during the pre-shift safety inspection should be recorded and reported before the equipment is used again.
How do you document a pre-shift safety inspection?
Use an equipment inspection report template that lists each item checked, the date and time, the operator's name, and any defects found. Record findings immediately rather than from memory at the end of the shift. A written record creates accountability and gives your fleet management inspection tracking system something concrete to log, which matters when equipment safety questions come up later.
What should you do if equipment fails a pre-shift inspection?
Stop. Tag the machine out of service, remove the key if possible, and report the defect to your supervisor or the rental provider right away. Do not operate faulty equipment even for a short task. Document the defect on your inspection report, and confirm the repair is complete and logged before the machine returns to service.
Can a pre-shift checklist be used for different types of equipment?
A core construction equipment inspection checklist covers items common to most machines, like fluid leaks, tires, and controls. But the specifics differ by truck type and power source, so add sections for forks and mast on a lift truck, or for hydraulic lines on an excavator. Keep one master template and adjust the equipment-specific items for each machine in your fleet.
Equipment problems rarely announce themselves. They show up as a soft brake pedal, a slow leak, or a noise you talk yourself out of hearing. A pre-shift safety inspection is how you catch them first. If managing inspections across a fleet is more than you want to handle alone, Equipment Now Rental and Sales can take it on with preventive maintenance, GPS tracking, and full inspection tracking built in. Get started with Equipment Now Rental and Sales and put a system behind every machine.