 how-to
How to Perform a Construction Site Hazard Assessment
Table of Contents
- What You'll Need Before You Start
- Step 1: Walk the Site and Identify Hazards
- Step 2: Assess Risk with a Severity and Probability Matrix
- Step 3: Apply the Hazard Control Hierarchy
- Your OSHA Construction Hazard Assessment Checklist
- Job Hazard Analysis Examples from Real Construction Tasks
- Fleet Management for Construction Site Safety
- Common Mistakes to Avoid During a Hazard Assessment
- Frequently Asked Questions
Last Updated: September 28, 2026
What You'll Need Before You Start
A construction site hazard assessment is a formal process for finding, ranking, and fixing dangers on an active job site before they hurt someone. This guide from Equipment Now Rental and Sales walks through the full process.
- Current site safety plan and prior inspection reports
- A hazard assessment form or tablet app
- Hard hat, safety vest, and boots
- A camera for documenting hazards
- The crew's job hazard analysis (JHA) records
Step 1: Walk the Site and Identify Hazards
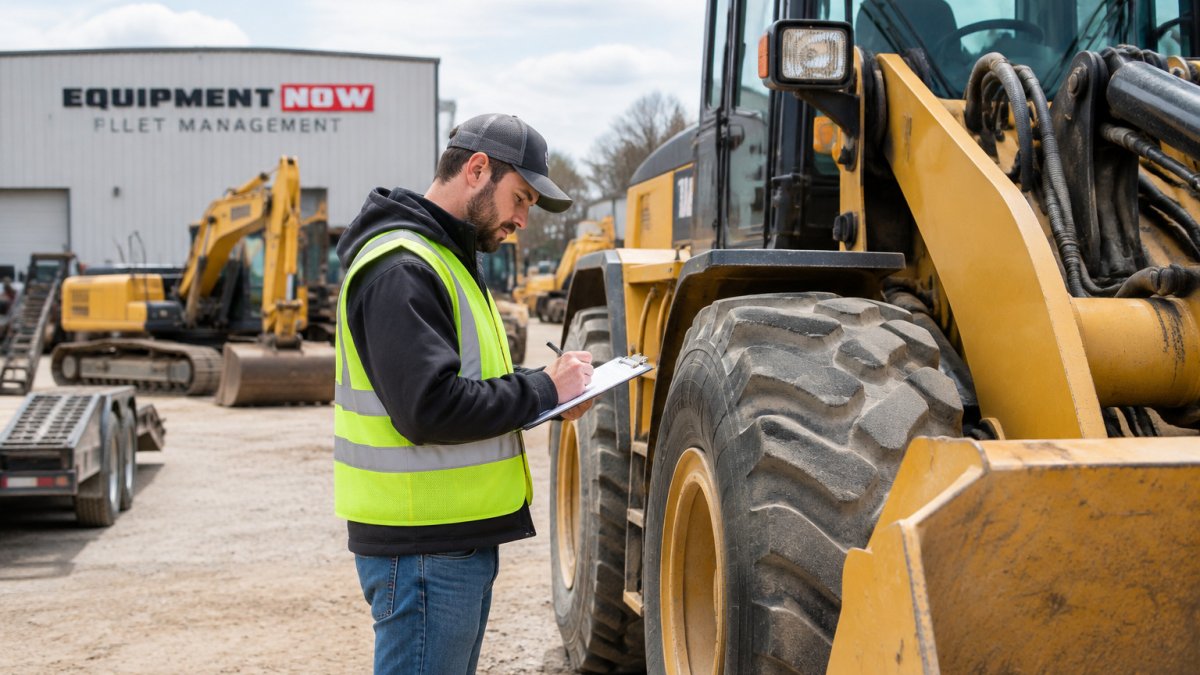
Walk every part of the site in work-flow order: delivery, staging, active work zones, and cleanup. At each spot, ask what could go wrong.
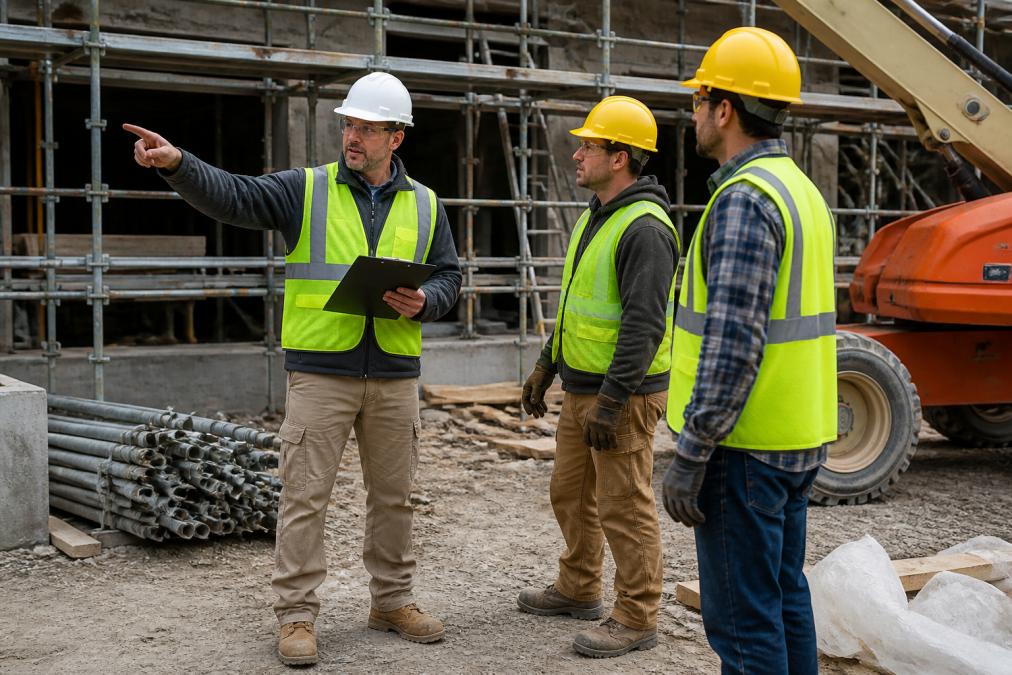
Look for four hazard groups:
- Falls from heights, openings, or unstable surfaces
- Struck-by risks from falling objects or moving equipment
- Caught-in or between hazards around machinery
- Electrical exposure from power lines or temporary wiring
Hazard Identification Methods That Work on Active Sites
Job hazard analysis breaks a task into steps and names the danger in each, best for repeatable tasks like framing or trenching.
Step 2: Assess Risk with a Severity and Probability Matrix
A risk matrix ranks each hazard by how bad the outcome could be and how likely it is to happen. Combine the two scores:
| Severity | Unlikely | Possible | Likely |
|---|---|---|---|
| Minor | Low | Low | Medium |
| Moderate | Low | Medium | High |
| Severe | Medium | High | Critical |
| Fatal | High | Critical | Critical |
Risk Ranking and Prioritization
Start with hazards that can kill someone, a missing guardrail on a third-floor edge outranks a cluttered walkway. Work down from Critical to Low, setting a deadline and an owner for each.
Step 3: Apply the Hazard Control Hierarchy
The hazard control hierarchy ranks fixes from most to least effective. Use the strongest control that fits the task, and document why.
- Elimination: remove the hazard completely. Example: prefabricate a wall on the ground so no one works at height.
- Substitution: swap a dangerous method for a safer one. Example: use a battery-powered cut saw instead of a gas saw to cut exhaust exposure.
- Engineering controls: guardrails, ventilation, machine guards, and temporary lighting that changes the physical environment.
- Administrative controls: training, rotation, warning signs, and scheduling that changes how people work.
- PPE: hard hats, harnesses, gloves, and eye protection.
The Human-Factors Gap Most Guides Miss
The hierarchy assumes workers will follow the control. They often do not, and the reason is usually not carelessness. Fatigue, stress, production pressure, and site culture are hazards in their own right, outside the traditional five-level model. A crew on its tenth straight day is a different risk profile than on day one, and a site where reporting a near-miss gets you labeled slow hides hazards until someone gets hurt.
Treat human factors as controls you can actually apply:
- Fatigue management. Cap consecutive shifts, rotate high-concentration tasks, and schedule the most dangerous work earlier in the shift when alertness is higher.
- Stress and distraction checks. A two-minute pre-task huddle that asks "anything going on today that could take your head out of the game?" surfaces problems before they become incidents.
- Psychological safety. Reward near-miss reporting instead of punishing it. The crew that reports the most hazards is usually the safest crew, not the sloppiest one.
- Site culture audits. Watch how supervisors respond when a worker stops a task for safety. If the response is irritation, your hierarchy is theoretical.
Digital Tools for Real-Time Control Verification
Most hazard assessment guides are paper-based, creating a gap between the control you planned and the control actually in place. A tablet-based system closes it.
Use digital tools to:
- Photograph a hazard and assign a control measure with a deadline and an owner in the same step.
- Push a notification when a control is due for verification, so guardrails, ventilation, and lockout tags get checked on schedule.
- Track near-miss reports over time to spot patterns the walk-through misses.
- Store the full assessment history so you can prove what was identified, when, and how it was resolved.
Choosing the Right Control Under Real Constraints
In practice, you rarely get to pick elimination. The task has to get done, the schedule is tight, and the budget is fixed. The skill is choosing the strongest control that survives those constraints.
A practical sequence:
- Ask whether the task can be redesigned so the hazard does not exist.
- If not, ask whether a safer method or tool can replace the dangerous one.
- If not, engineer the hazard out of reach, guard it, ventilate it, isolate it.
- If not, change how people work around it, rotate, schedule, train, sign.
- Only then rely on PPE, paired with at least one higher control.
Your OSHA Construction Hazard Assessment Checklist
Use this checklist on every walk-through. It follows the OSHA construction hazard assessment checklist format most safety managers expect.
- Site walk completed in work-flow order
- Fall hazards identified and ranked
- Struck-by and caught-in risks logged
- Electrical exposure checked
- Equipment inspected and tagged
- Control measures assigned with deadlines
- Findings documented and shared with the crew
- Follow-up date set
Job Hazard Analysis Examples from Real Construction Tasks
Concrete work: back strain from lifting, chemical burns from wet concrete, and pinch points near forms. Controls include mechanical lifts, gloves, and clear hand signals.
Fleet Management for Construction Site Safety
Fleet management for construction site safety covers every machine and vehicle on your site: who operates it, when it gets serviced, whether it meets compliance rules, and where it is at any given moment. It is the piece most small crews skip, and where the biggest safety gains hide.
Why Fleet Management Beats Reactive Repairs
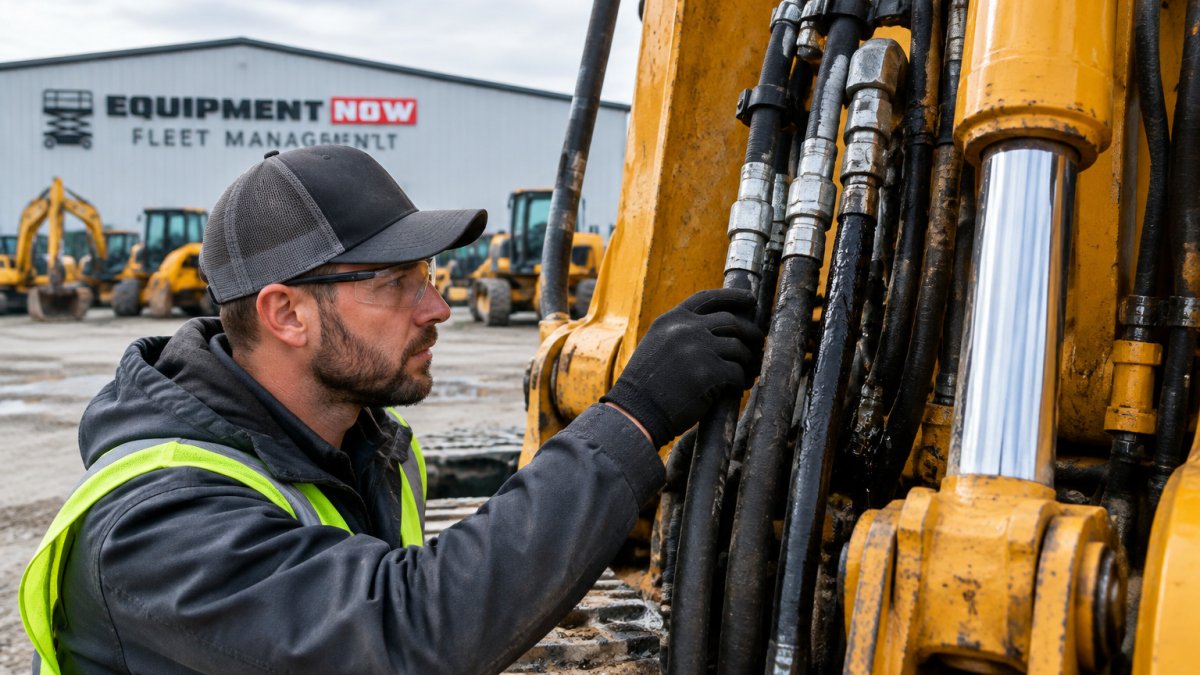
Reactive maintenance, fixing equipment only after it breaks, is the default on many sites, and it is expensive in both dollars and injuries. Preventive maintenance and GPS tracking keep machines running and show where they are, while compliance records prove inspections happened.
- Fewer breakdowns. Scheduled service catches worn parts before they fail mid-task. A failed boom lift on a busy day is a struck-by hazard, not just a delay.
- Lower total cost of ownership. Planned maintenance extends equipment life and avoids emergency repair premiums. Consigning equipment you no longer need, rather than auctioning it, typically returns more value because you control the timing and the buyer pool.
- Cleaner compliance. Inspection logs, operator certifications, and maintenance histories live in one place, ready for a safety review or an insurance audit.
Consign Sales vs. Auctions: A Fleet Manager's Safety and Financial Case
When it is time to retire a machine, the default move is often an auction. That is usually the wrong call for a construction fleet. Auction sales are fast, but they attract bargain hunters, charge seller fees, and give you no control over who buys the equipment or how it is represented. A machine that leaves your yard with a known defect and no disclosure can come back as a liability.
Consignment is the stronger option for most fleets:
- Higher returns. Consignment lets you set a realistic asking price and market to buyers who actually need that machine, rather than accepting whatever the auction floor bids.
- Better disclosure control. You document condition, service history, and known issues before the sale. That protects you legally and keeps unsafe equipment out of the hands of someone who will misuse it.
- Timing flexibility. You are not forced to sell on auction day. You can wait for the right buyer and keep the machine productive until it sells.
- Cleaner paperwork. Consignment agreements spell out who is responsible for what, which matters when a safety incident later traces back to a sold unit.
Digital Tools That Make Fleet Safety Real-Time
Paper logs go missing. A tablet-based fleet management system lets an operator flag a fault the moment it appears, routes the report to the shop, and locks the unit out of service until cleared. That is the digital-tool gap most hazard assessment guides miss: the assessment does not end when the walk-through does, it continues every time a machine is started, moved, or serviced.
Common Mistakes to Avoid During a Hazard Assessment
Skipping the follow-up tops the list. A hazard assessment that ends with a report and no repairs is just paperwork.
Other frequent errors:
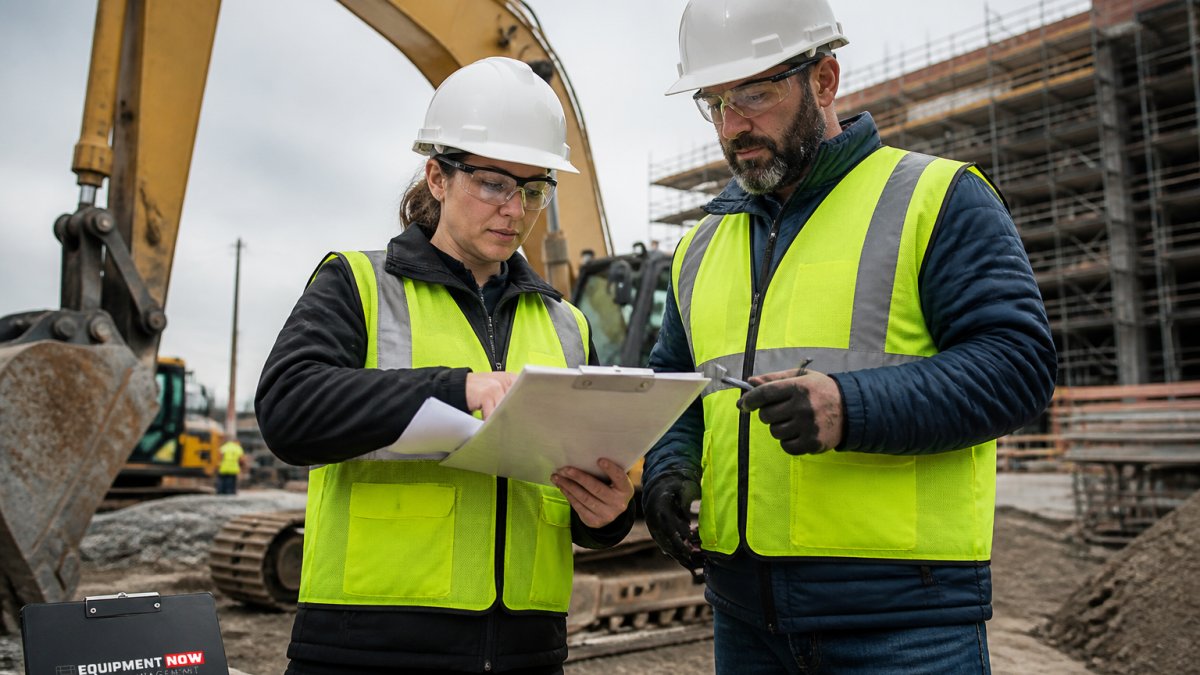
- Walking the site alone and missing hazards one person can't see
- Ranking every hazard as high, which buries the real killers
- Ignoring human factors like fatigue and rushed shifts
- Forgetting to update the assessment after the site layout changes
Frequently Asked Questions
How often should a construction site hazard assessment be updated?
Update your assessment whenever site conditions change: new phases, new equipment, new crews, or after any incident. At minimum, review it before each major phase and after weather events that alter the site. OSHA expects ongoing hazard identification, not a one-time document. Many contractors do a quick daily walkthrough and a full reassessment weekly, which keeps the site safety plan current and catches field-level risk before it becomes an incident.
What documentation is required for a construction hazard assessment?
Keep a written record of identified hazards, risk rankings, control measures, assigned responsibilities, and completion dates. Your site safety plan, inspection logs, training records, and corrective action tracking all support regulatory compliance. OSHA does not prescribe one form, but inspectors want to see that hazards were identified and addressed. Store documents where crews can access them, and update them as conditions change so the record reflects the site as it actually operates.
Can you provide an example of a hazard assessment?
A crew preparing to trench for utility lines identifies cave-in, struck-by, and utility contact hazards. They rank cave-in as high severity and moderate probability, install trench protective systems, designate a competent person for daily inspections, and mark underground utilities before digging. They document the controls, train the crew on entry rules, and recheck after rain. That sequence, identify, rank, control, document, and recheck, is the core of any construction site hazard assessment.
How does fleet management support construction site safety?
Fleet management keeps equipment maintained, tracked, and compliant, which removes a major source of site hazards. Preventive maintenance reduces breakdowns and hydraulic failures, GPS tracking improves movement control around crews, and compliance records prove inspections happened. When every machine arrives inspected and every operator is authorized, your hazard assessment starts from a safer baseline. Equipment Now Rental and Sales offers fleet management that covers acquisition, maintenance, tracking, and compliance for contractors running multiple machines.
A hazard assessment only works when the equipment on site is safe to run. Equipment Now Rental and Sales pairs reliable rental gear with fleet management that handles maintenance, GPS tracking, and compliance records, so your machines stay ready and your crew stays protected. Book online with real-time availability and reserve the right equipment for your project. Get started with Equipment Now Rental and Sales and build a safer, better-managed site.